

DMARC, also known as “Domain-based Message Authentication, Reporting and Conformance” is a system for validating emails to prove that an email was in fact sent from the person it says it was sent, and that the email received is in fact the unaltered email that left the originating server. It helps stop email spoofing, but hasn’t quite been adopted by the entire industry yet. Here is how you add DMARD records to your DNS records in cPanel
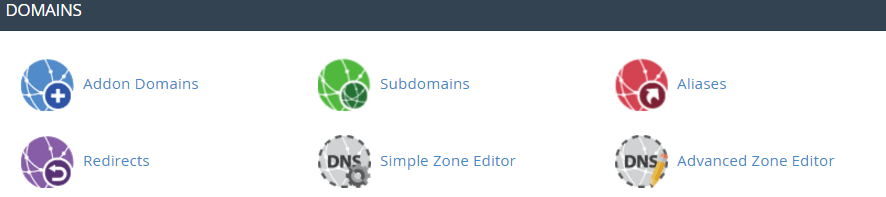
First, login to your cPanel account and go to the advanced DNS editor. Newer versions of cPanel might just have “zone editor” which should be fine
NOTE: If your zone editor doesn’t have the option to add new TXT record, then click “manage” and then you will be able to add txt record
Then, go to add a new “TXT” record and use the following information.
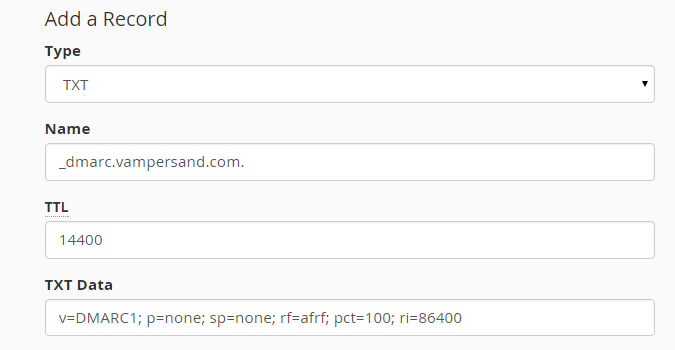
After adding “_dmarc”, and clicking on another field, please note it will AUTOMATICALLY add in the name of your domain, so in the end it will look like _dmarc.yourdomain.com
Name: _dmarc
TTL: 14400
Record: One of the following, depending on how you want it setup
none – Take no action. Log affected messages on the daily report only.
v=DMARC1; p=none; sp=none; rf=afrf; pct=100; ri=86400
none with report – sends report of failed validations to a valid email of yours (example: admin@domain.com)
v=DMARC1; p=none; sp=none; ruf=mailto:admin@domain.com; rf=afrf; pct=100; ri=86400
reject – Cancel the messages
v=DMARC1; p=reject; sp=none; rf=afrf; pct=100; ri=86400
quarantine – mark messages as spam
v=DMARC1; p=quarantine; sp=none; rf=afrf; pct=100; ri=86400
Then save your changes, and that’s it!
")


")


