

Adding google mx records to your domain is very easy to do. This allows you to host your website with us while using Googles email service for email.
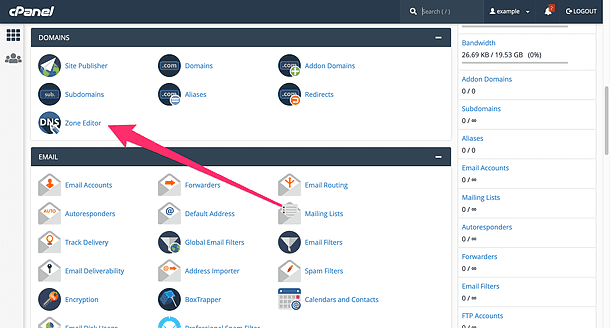
First, log into your cPanel account. On the front page, you will see “zone editor”. Click that
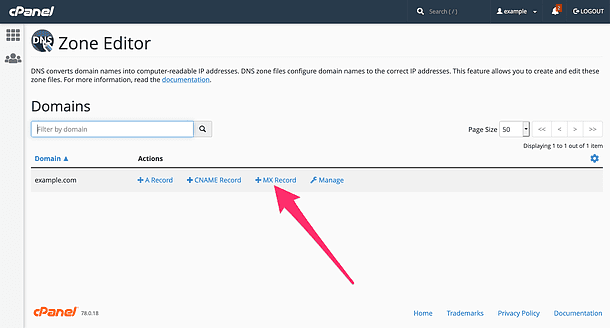
Now, click on + MX records to add an MX record
Now a box pops up. You want to put in “Priority” and “Destination” values in the box.
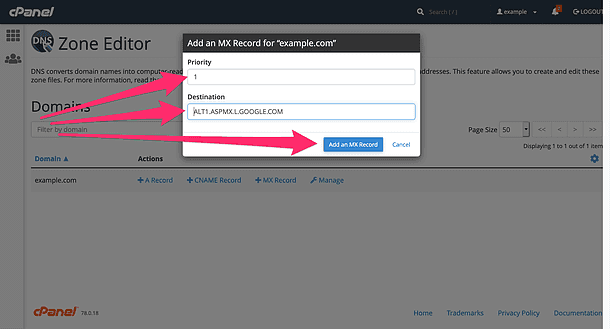
You want to do this for all of the below records. So for example, the first time around you put im “1” for priority and then “ASPMX.L.GOOGLE.COM” as the destination and then click “Add an MX record”. Then go and do it all over again until all of these are done:
Value Destination
1 ASPMX.L.GOOGLE.COM
5 ALT1.ASPMX.L.GOOGLE.COM
5 ALT2.ASPMX.L.GOOGLE.COM
10 ASPMX2.GOOGLEMAIL.COM
10 ASPMX3.GOOGLEMAIL.COM
Now that you’ve added all of the google records, you need to make sure you don’t have any other MX records interfering. So now you want to click on “Manage”
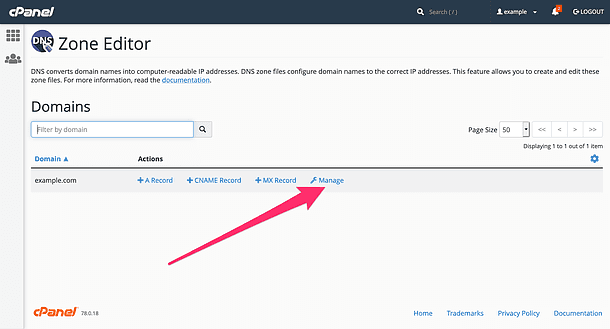
Now you will see all of your records. Ignore all that mumbo jumbo and just focus on looking for the ones that specifically say “MX” as the type. If you see one that does not have one of those google entries you just added above, delete it. You will always find at least one so make sure to delete it.

That’s it!
")


")


