

When deploying a VPS with Windows 10, you will notice that your remote desktop connection and internet will not work by default even after enabling Remote Desktop Connection on the VPS system. The reason for this is that Windows 10 is a desktop platform and not a server edition that is capable of having the network settings changed automatically by virtualization software. So you’ll need to do a few things first. In this tutorial we will be using Virtualizor KVM
1) Create the VPS using the Windows 10 ISO that is available on your virtualization software.
2) Upon completion, you may get an error stating there was an error setting the password. This is normal since this is a desktop Windows system and not a linux or windows server edition system.
3) The server will not turn on automatically. Leave it turned off and now go to edit the settings of the VPS. Change the VNC password to one that you can remember.
4) Turn on the VPS and then connect to the new Windows VPS using the VNC password you have just created.
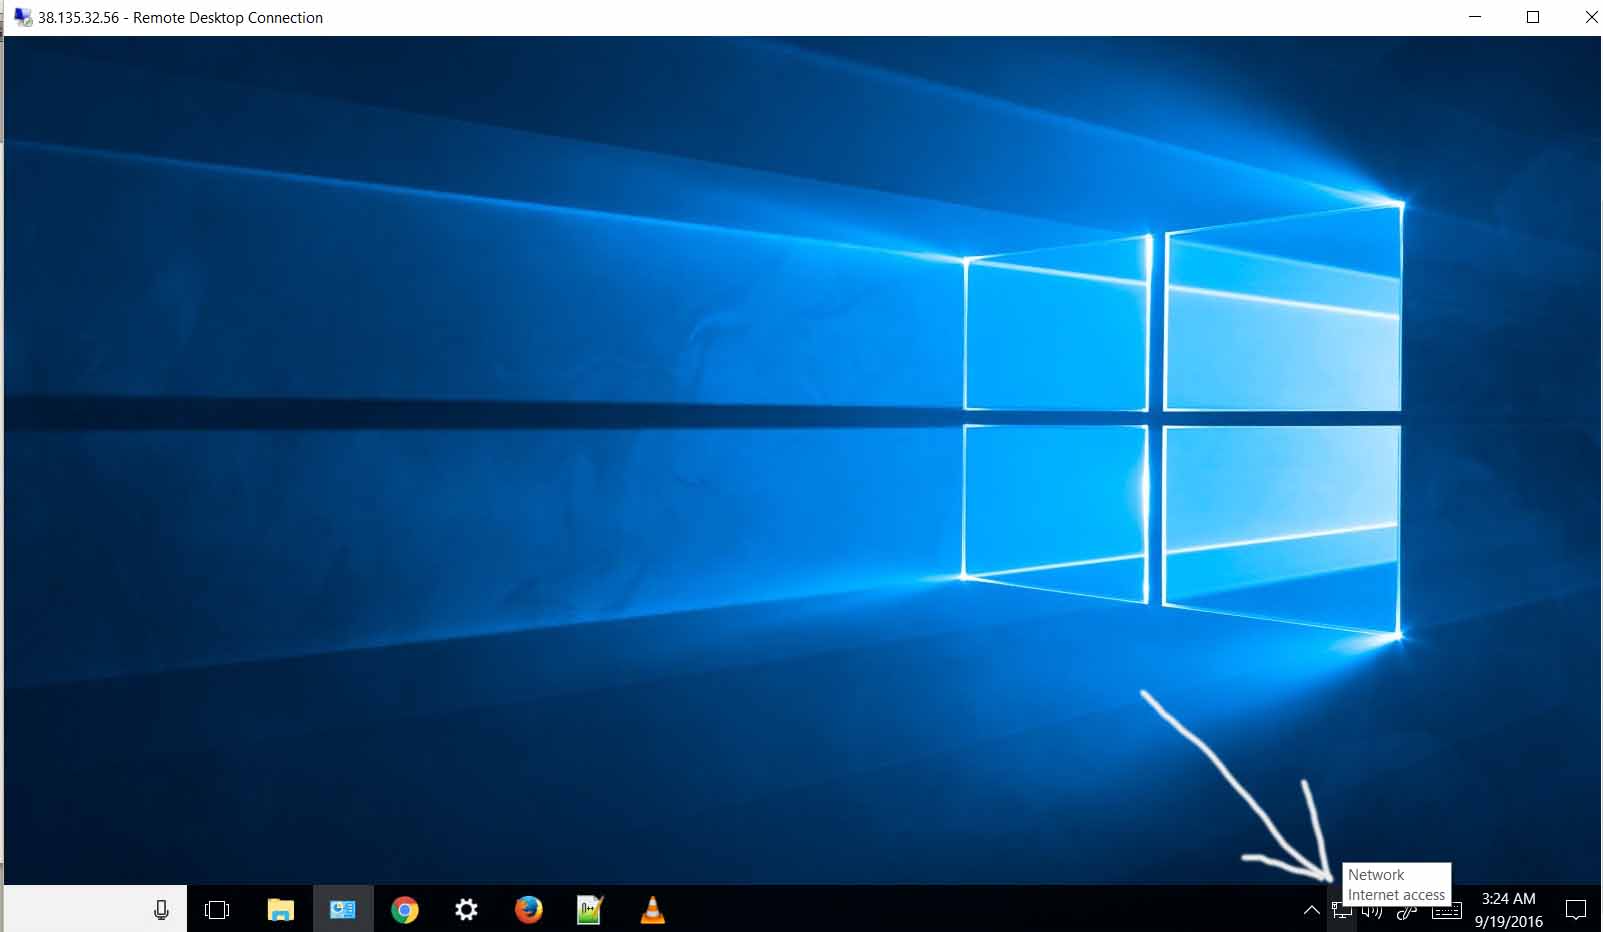
5) Login using your Administrative login credentials and then click on the network icon down in the taskbar:
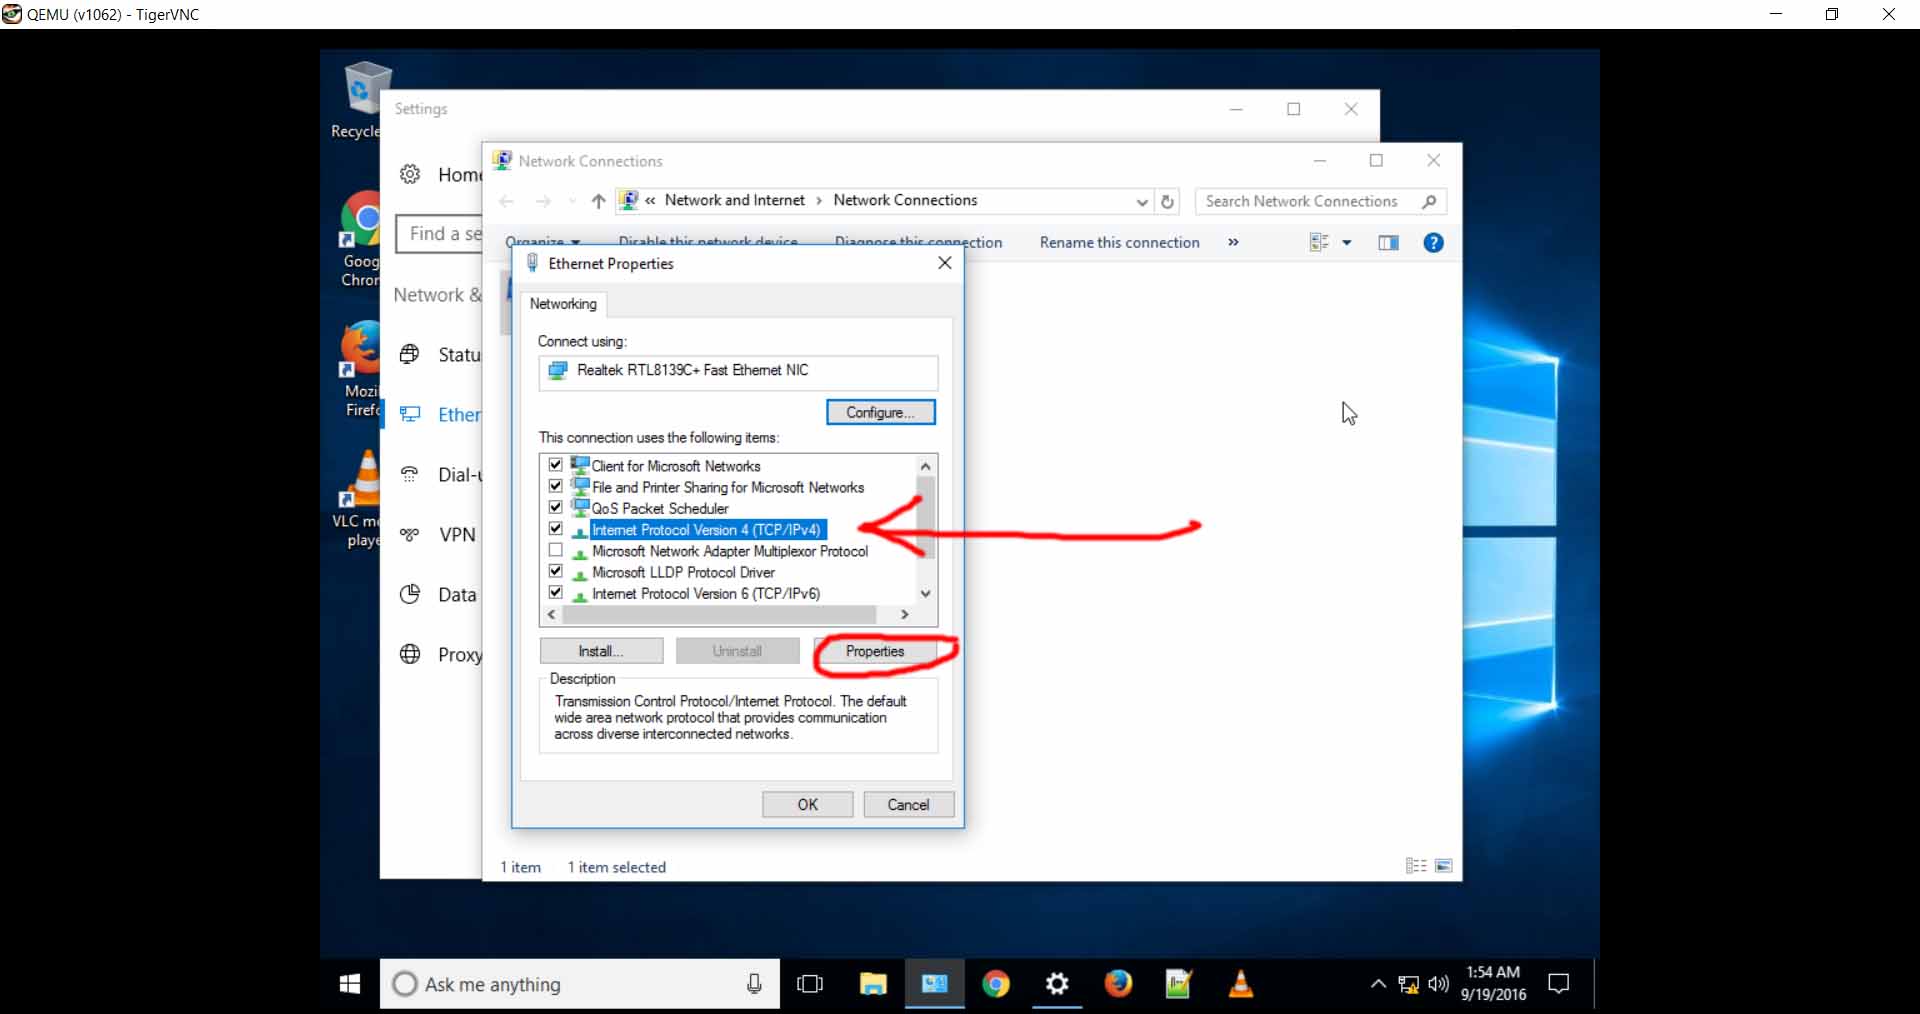
6) A new windows will open. Click on Internet Protocol Version 4 (TCP/IPv4) and then click on properties:
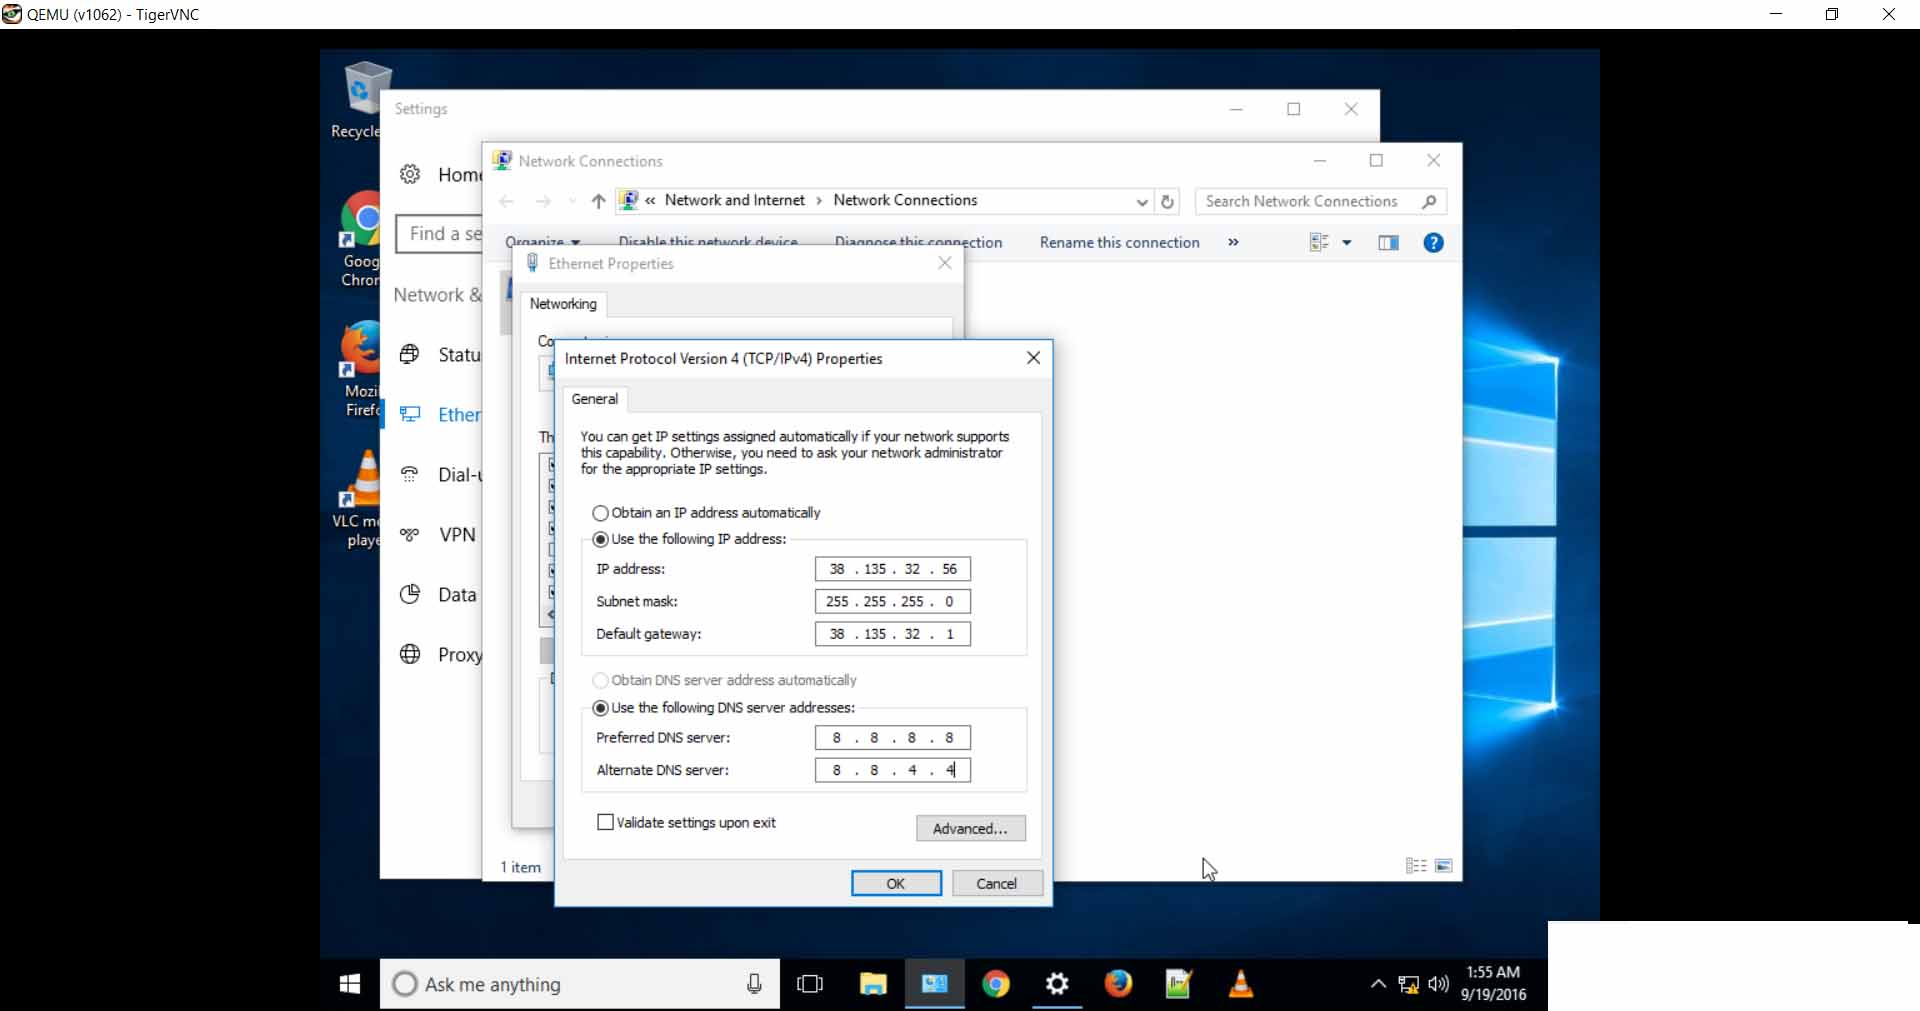
7) A new window opens. It will have the settings set to automatic. Change it to manual and then put in your IP address, Network mask, and the default gateway. Then, put in your DNS resolvers as well. I would recommend using 8.8.8.8 for the preferred and then 8.8.4.4 for the Alternate DNS Server :
Then click on ‘Ok’. Lastly, you will be back at the main screen. Select the network device you had just modified and click “Disable” this network device”:
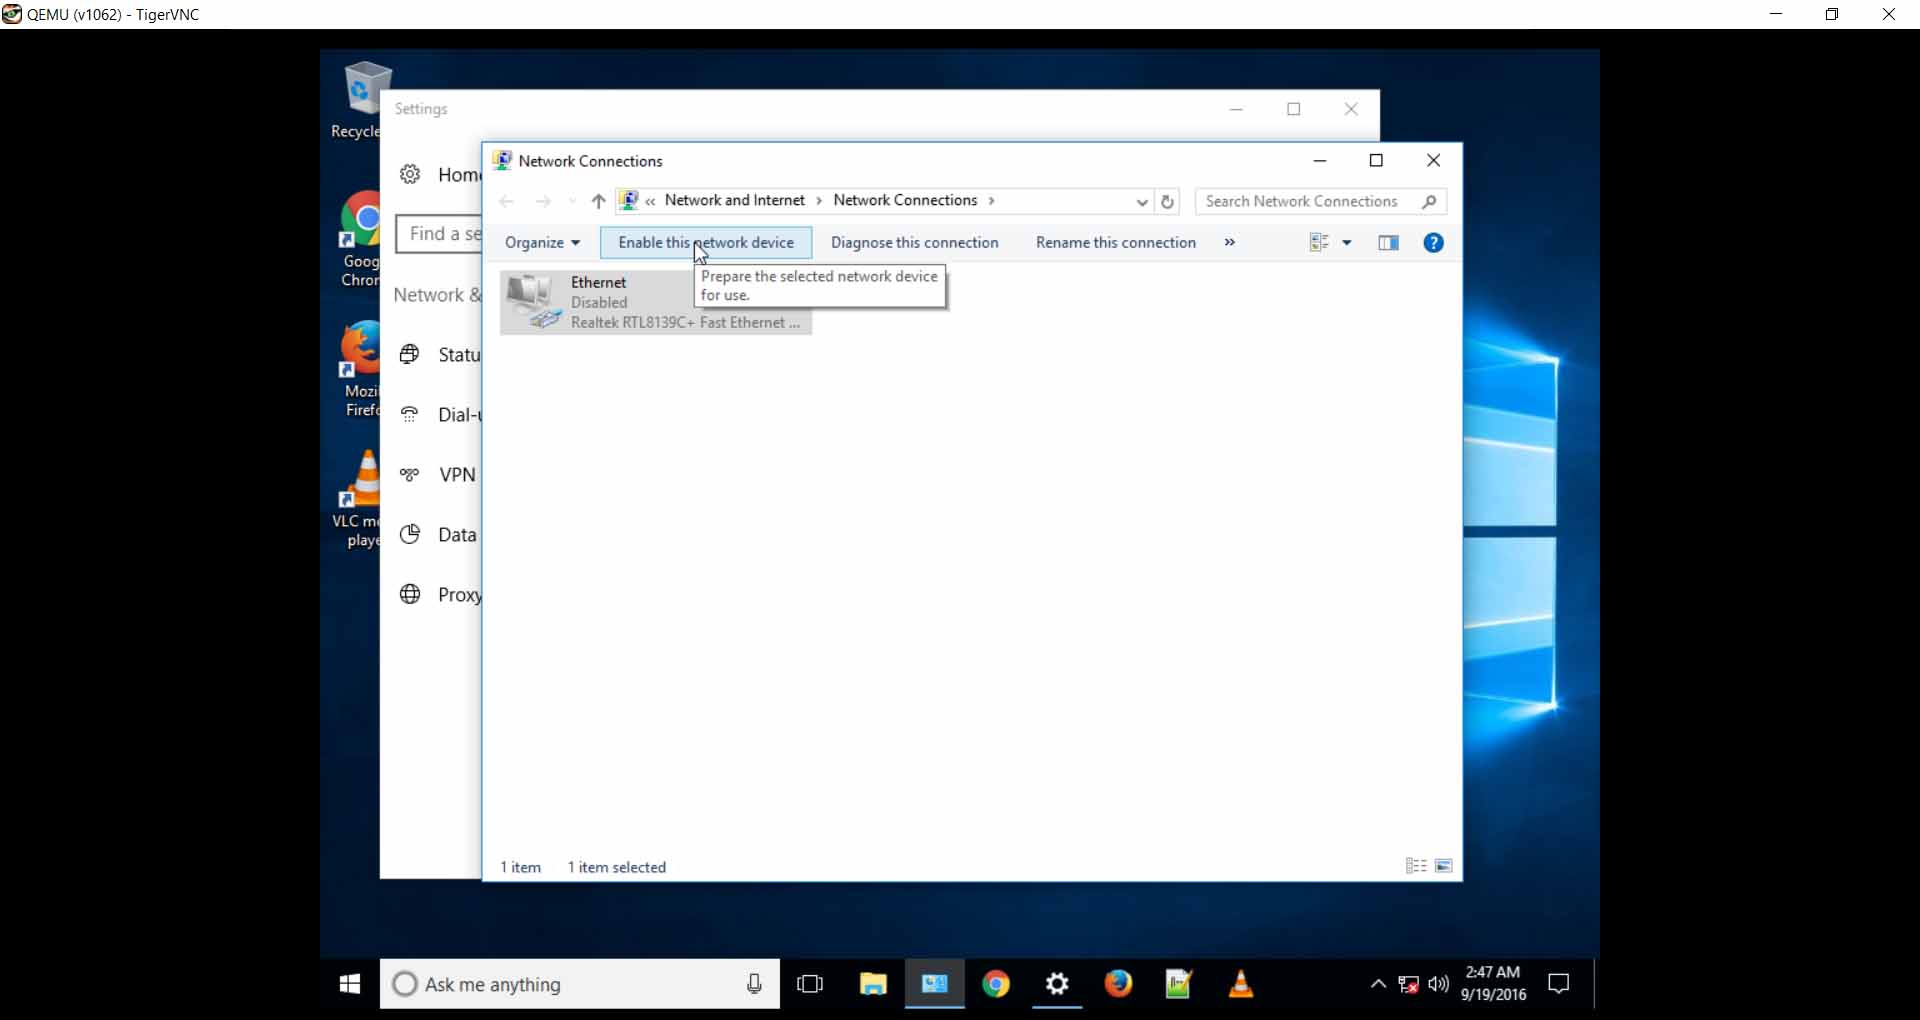
Lastly, click on “Enable this network device”. The reason for this is to make sure that the new settings kick in. That’s it. Give it about 20 seconds and your ethernet icon down in the taskbar should say there is now internet. With that, your remote desktop connection will now work as well as internet connectivity from inside of the Windows 10 VPS.
It’s very important to know that if you plan on deleting everything off of this VPS for whatever reason, that you do not delete the actual VPS from your Virtualizor. If you do this, you will lose your licensing rights. Simply rebuild the same exact VPS by reloading Windows on it.


")


