

Deploying a django applicaiton is very easy with our highly customized control panel. We designed this control panel using the Virtualmin backend system, to bring you an easy-to-use, one click installation of your django applications. Here, we will explain how to setup your django environment so you can begin accessng your django admin panel and begin coding your application in no time!
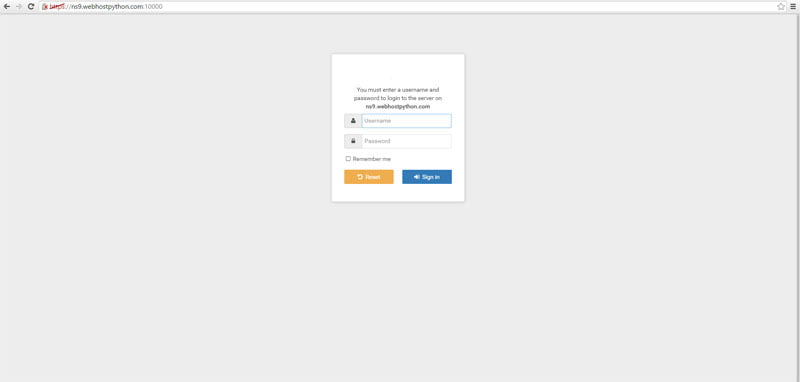
The first thing you want to do is login to the Webhostpython control panel portal using the login credentials that were given to you in your welcome email:
Logging in will bring you to our home screen. On the left-hand side of the screen, click on “Install Scripts”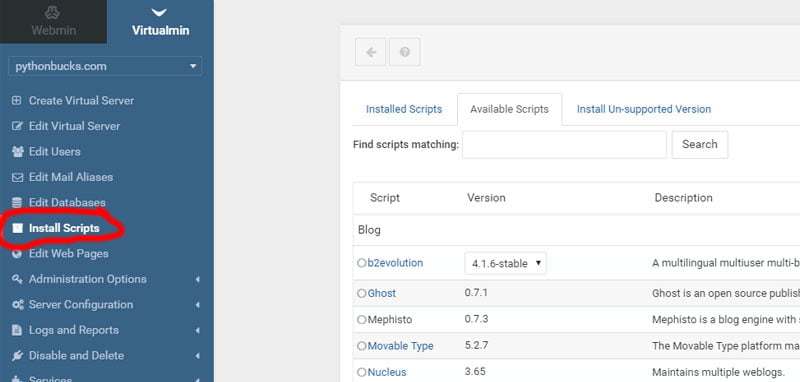
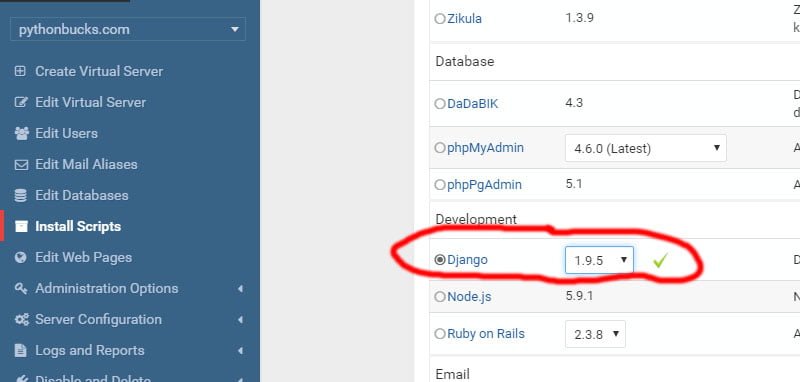
You will now see a list of available easy-to-install one-click applications and scripts. From here, you can select node.js, Ruby on Rails, WordPress, Joomla, or hundreds of other applications. Select “Django” and the version you want.
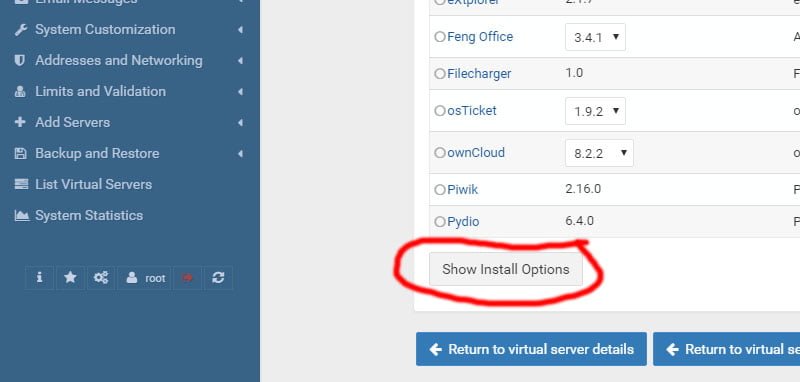
Then scroll all the way down and click “Show Install Options”.
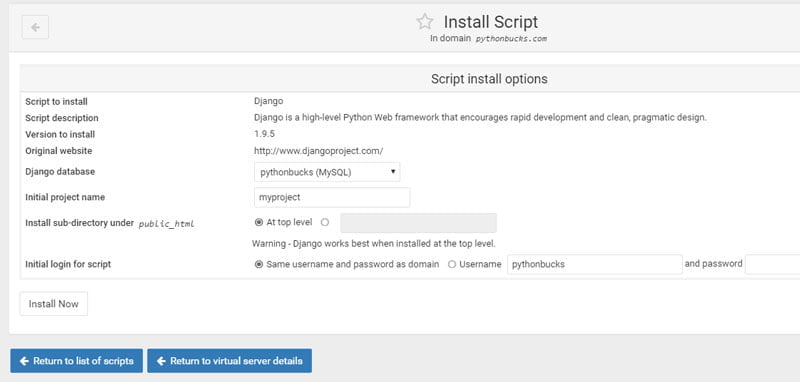
Lastly, you will be taken to the install screen. You can leave everything here as is, or customize. Then click on “Install Now”
That’s it! When it’s complete, it’ll give you the URL to your django admin panel, and confirm that everything is complete.
IMPORTANT:
Our servers come with multiple versions of Python. By default, logging into shell and executing the command “python” will load Python 2.7 for you. If you want to use Python 3.4, or even Python 3.5, simply append the version number. For example, “python3.4” will load the environment for Python 3.4. “python3.5” will load the environment for Python 3.5.
Thank you for choosing Webhostpython.com! We hope that this tutorial was clear, and helpful in getting you started with our very easy to use, one-click friendly django installer!
Team Python


")


