

All of our Plesk powered web hosting plans come with SpamAssassin spam protection. The steps to enable it are as follows. The domain listed in these examples is a current member of our team and we would like to thank him for allowing us to use his domain for the purposes of this tutorial
- Log into your Plesk panel and go to the main home page

On the home page, click on “Mail” which will take you here:

Now, click on the actual email address you want to change spam settings for
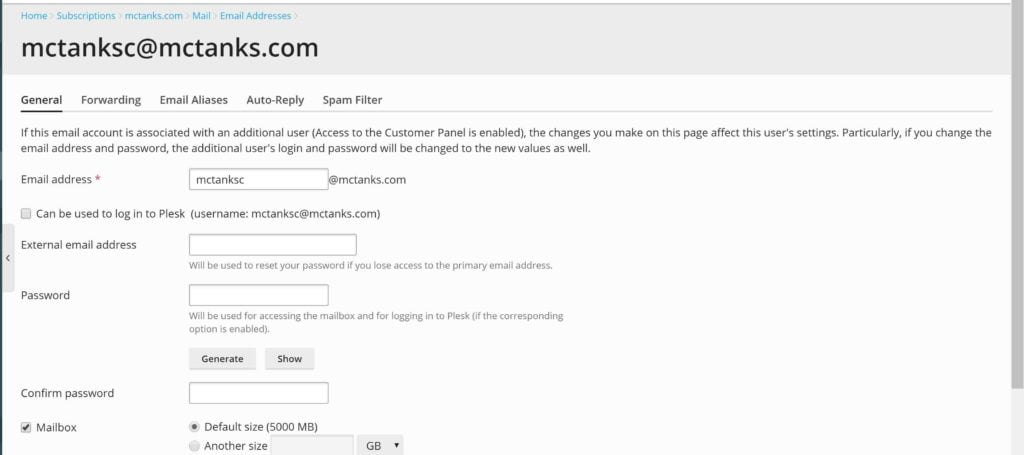
No, click on “Spam Filter” which is the last option on the screen
By default, spam protection is enabled but with very little protection. You can choose to either “Delete all spam messages” or “Move spam to the Spam folder”. Click on Show Advanced Settings for more options as well:
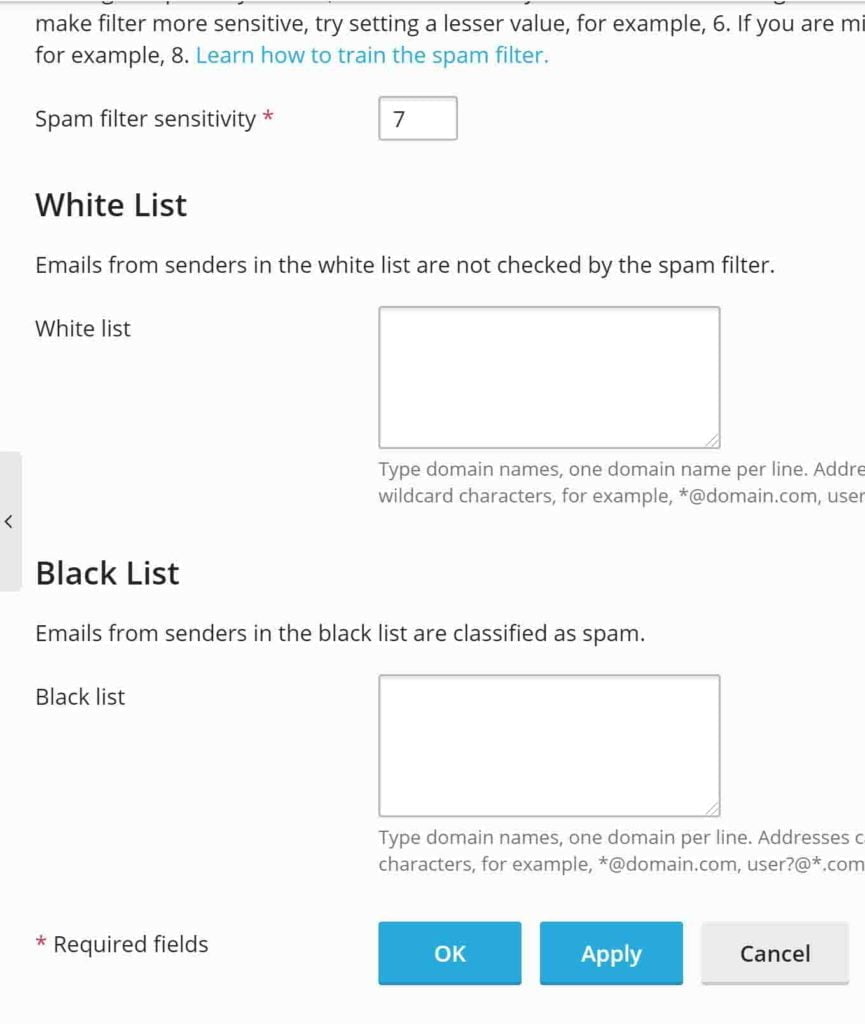
You can white list, or black list certain senders here. You can also change the sensitivity settings from the default value of “7” to something a little more strict. The lower the number, the more strict the setting. When you’re done, click on “OK”. That’s it!


")


