

UPDATED: 3/17.2023
Setting up CloudFlare is quite easy. This tutorial will show you how to do this from the ground up on a domain you want to route through CloudFlare
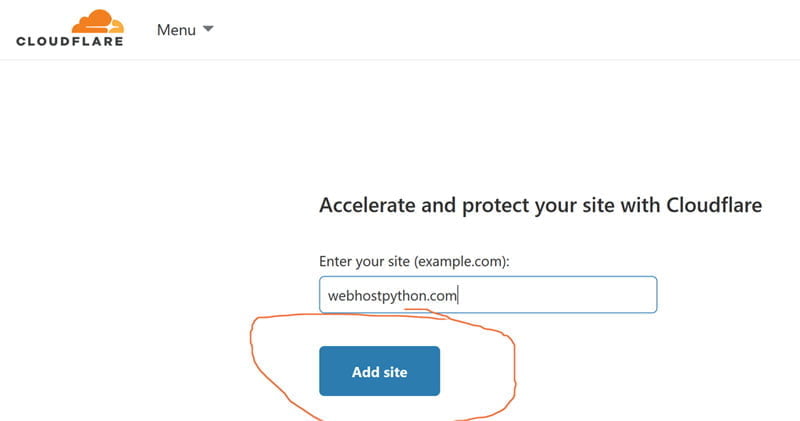
First, signup and create a new account with CloudFlare. Signup for the normal free account. Then, log into that account and click on “Add site” after adding in the name of the domain you will want to use CloudFlare with
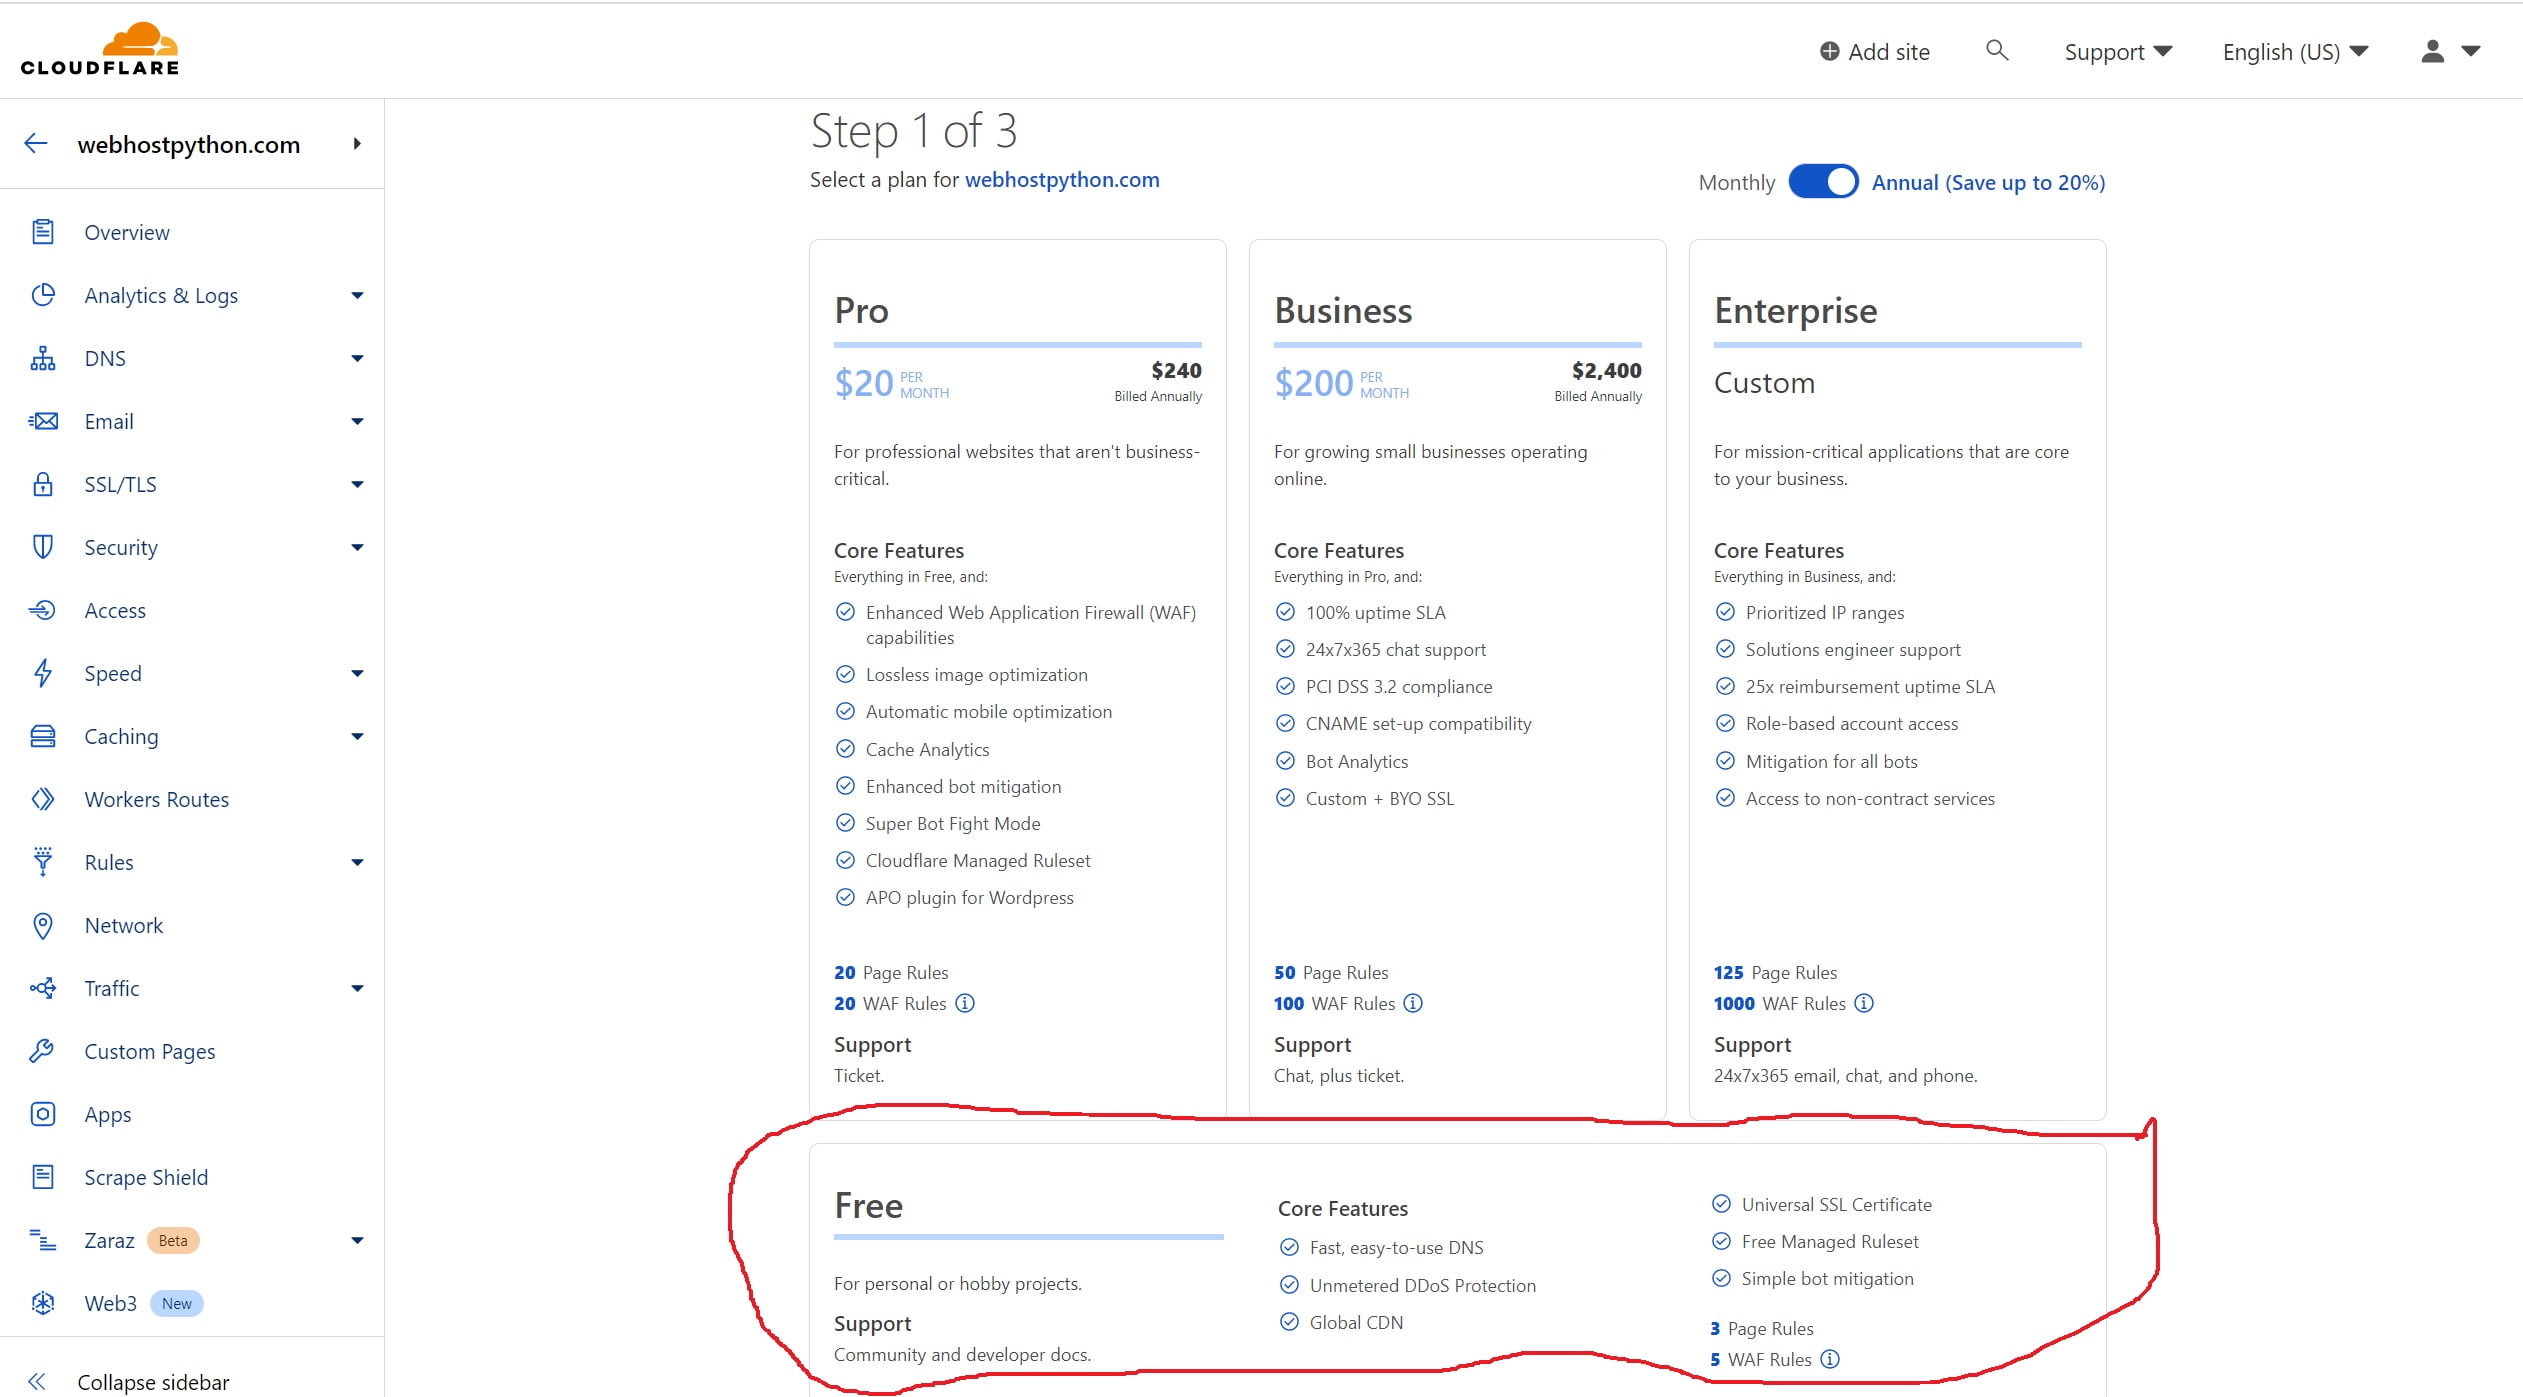
After clicking on Add site, select the free plan which can be found on the bottom. You can opt for the paid versions if you would like but the free version is extremely powerful and makes an enormous positive difference in performance than not using CloudFlare at all
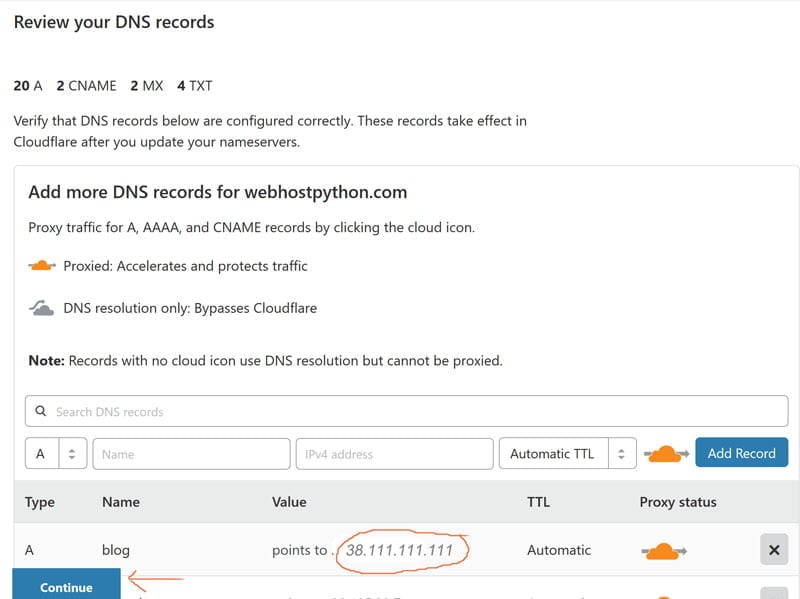
After selecing the free plan and clicking the blue “Continue” button, you will be taken to a screen that ask you to review your records. It will have a bunch of records and next to them IP addresses. It will look a lot more complicated than what it really is. You want to make sure that the IP listed on these records matches the IP of your server. If you are in doubt, ask us what your servers IP address is and we will let you know. In this example, we are clicking on all of the records that have “38.111.111.111” so that we can replace them with the correct IP of our server. After you’ve done this, click on continue down at the bottom.
Now it will take you to a screen that lets you know what your CloudFlare nameservers are. You will need to log into your domain registrar (The place where you purchased your domain) and update your nameservers to point to the ones that cloudFlare is telling you to point them to. They may be different than the ones listed here so pay attention to what CloudFlares system tells you
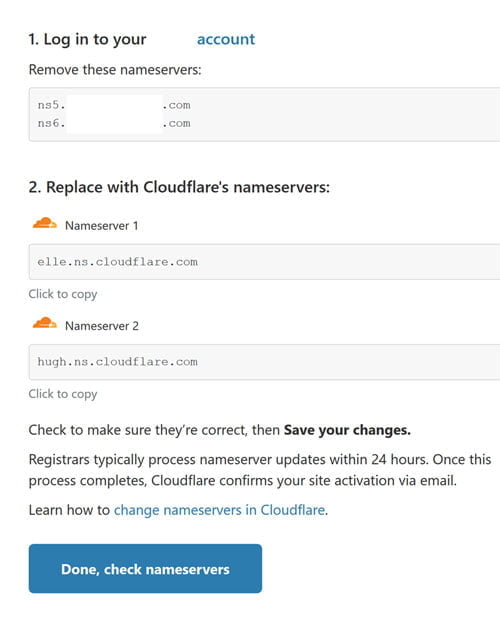
Once you’ve updated your nameservers, click on “Done, Check nameservers” and the system will check your nameservers for you. That’s it! If you know you’ve updated those nameservers, you can ignore the warning message saying that it is still pending checks. It will propagate within the hour. Thank you!
")


")


